GLOW Blend: Practical Guide for Skin Peptide Research
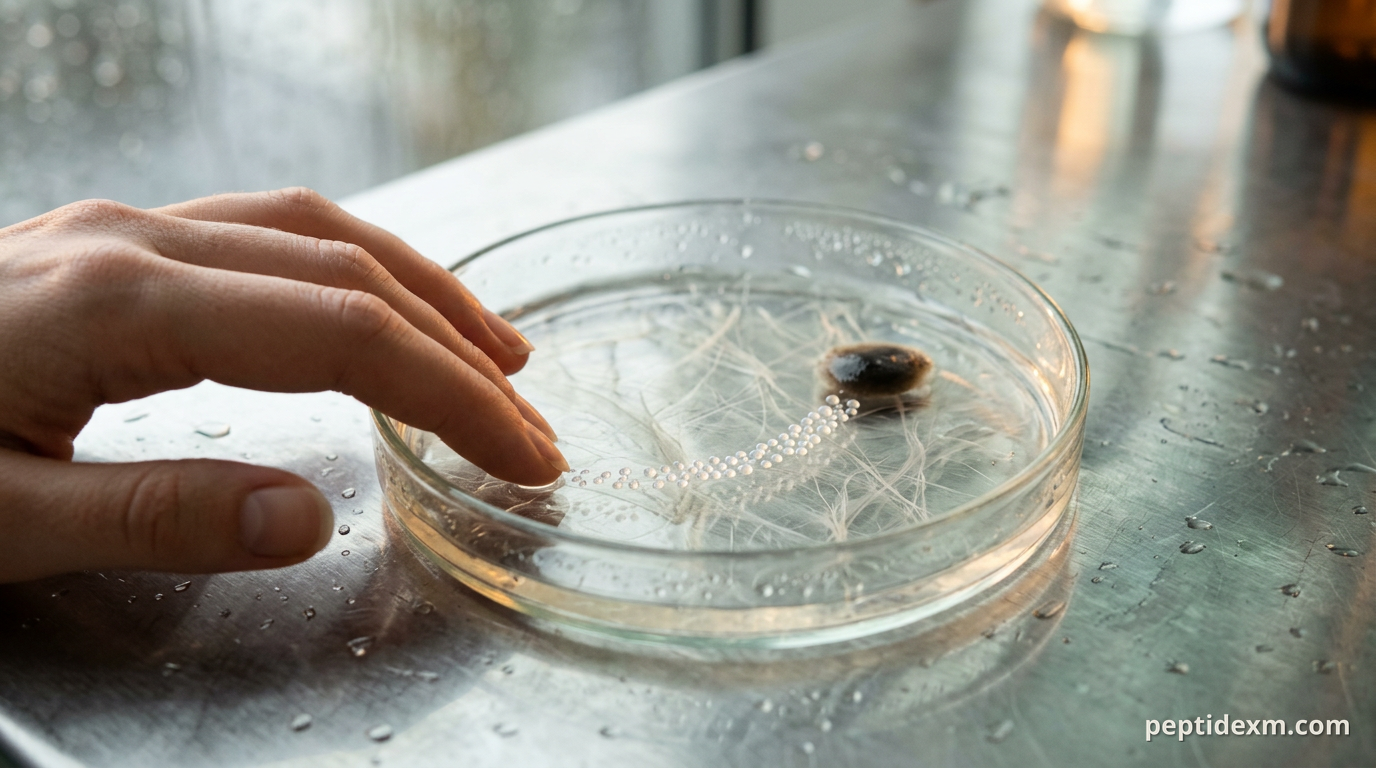
On a rainy Tuesday a postdoc in a dermatology lab thawed a vial labeled GLOW Blend and set up a panel of assays: fibroblast migration, collagen I expression, and a melanin synthesis screen. The lab had seen promising early trends, but the question remained—what experimental safeguards and readouts make those trends reliable? The notes that follow come from that bench: practical, precautionary, and focused on reproducible skin-peptide research.
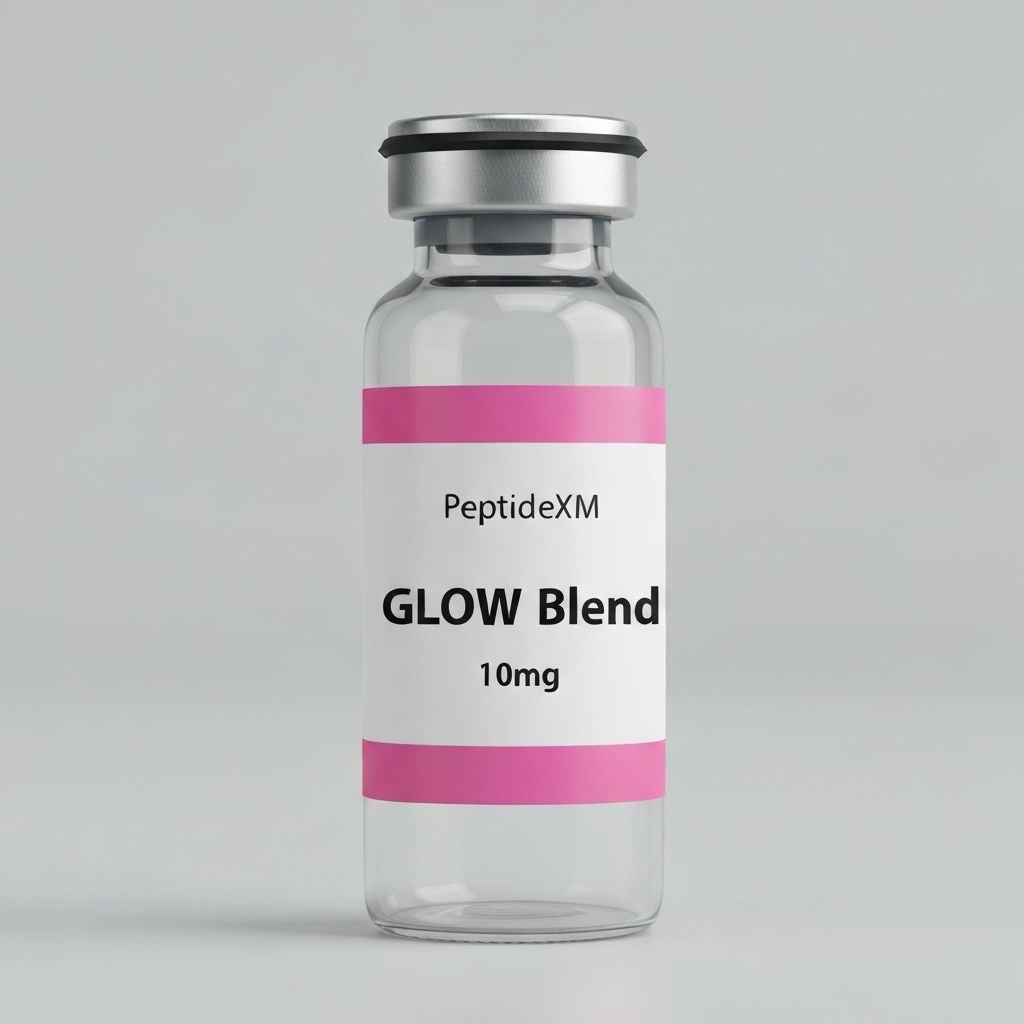
What GLOW Blend is — product context and research scope GLOW Blend is a research-targeted peptide formulation intended for in vitro and ex vivo studies in skin biology. The product is sold for laboratory investigation of peptide effects on cellular behaviour, matrix production, and related molecular pathways. It is not for human use. For the vendor's full product details and exact composition, see the product card below.
Many skin-focused peptide blends contain a mixture of short signaling peptides, copper-binding peptides, and stabilising excipients chosen to interact with fibroblasts, keratinocytes, or pigment cells. In experimental work you should treat GLOW Blend like any multi-component reagent: characterise its activity in your specific system, and control for vehicle and peptide-batch effects.
Biochemical pathways relevant to skin research Peptides in skin blends typically interact with pathways that regulate extracellular matrix synthesis, protease balance, oxidative stress responses, and melanogenesis. Key molecular handles to monitor include:
Collagen synthesis and processing, often read out via procollagen peptides, hydroxyproline content, COL1A1/COL3A1 mRNA, and Western blot for procollagen or mature collagen fragments. Matrix metalloproteinases (MMPs) and TIMPs, where a shift toward MMPs (for example MMP1) implies increased matrix degradation and a shift toward TIMPs suggests matrix preservation. Redox status, because reactive oxygen species influence MMP expression and pigment pathways. DCFDA-type assays and glutathione measurements are common. Melanogenesis regulators such as tyrosinase expression and MITF activity when pigment cells are under study.
Mechanistic insight often requires combining transcriptional readouts (qPCR), protein-level assays (ELISA, Western blot), and functional endpoints (migration, collagen deposition). Single-assay conclusions can mislead if vehicle effects or endotoxin contamination are not excluded.
In vitro assays: cell types, endpoints, and controls Choice of cells determines which hypotheses you can test. Common choices include primary human dermal fibroblasts (HDFs), immortalised keratinocyte lines (e.g., HaCaT), and primary or immortalised melanocytes for pigment work. Each cell type has different baseline matrix production, metabolic activity, and sensitivity to peptides. Core endpoints and recommended supporting measurements:
Cell viability and cytotoxicity: MTT, resazurin (alamarBlue), or LDH release. Always establish a non-cytotoxic working window before interpreting functional assays. Migration and coverage: Scratch (wound-healing) assay or transwell migration; image and quantify percent closure or migrated cell counts at multiple time points. Matrix synthesis: Procollagen I C-peptide ELISA, hydroxyproline assay on conditioned matrix, and immunofluorescence for collagen I/III. MMP/TIMP balance: qPCR for MMP1/MMP3, gelatin zymography for MMP2/MMP9, and ELISA for TIMP proteins. Oxidative markers: DCFDA ROS assays, 8-oxo-dG for DNA oxidation, and glutathione assays for redox buffering capacity. Pigmentation assays: Tyrosinase activity, melanin content assays, and MITF transcriptional profiling when using melanocytes.
Essential controls:
Vehicle-only control (same solvent/excipient composition). Positive control relevant to the assay (e.g., TGF-β for collagen induction; known MMP inducer for degradation assays). Endotoxin control—LPS can produce false-positive inflammatory responses. Test endotoxin levels or include polymyxin-B controls if inflammation readouts are used.
Ex vivo and tissue models: moving beyond monolayers Monolayers are fast and scalable, but skin is structured. Ex vivo human skin explants, full-thickness skin equivalents, and organotypic cultures bridge that gap and reveal penetration, stratified responses, and matrix remodelling that 2D assays miss. Common readouts in tissue models:
Histology (H&E) and Masson's trichrome to visualise dermal collagen and overall architecture. Immunohistochemistry for collagen I, procollagen, Ki67 (proliferation), and inflammatory markers. Multiphoton or second-harmonic generation imaging for collagen fibril organisation. Transdermal penetration assays using Franz diffusion cells when topical delivery is part of the experiment.
Transport and penetration are sensitive to formulation. Vehicles that enhance delivery in ex vivo tissues can also confound interpretation if they independently alter cell signalling. Separate vehicle controls for each formulation are therefore necessary.
Formulation, handling, and storage best practices Many peptide blends are shipped lyophilised or in buffered solution. General handling principles reduce variability between experiments and batches.
Store lyophilised peptides at -20°C or colder, in a desiccated environment. Once reconstituted, aliquot into single-use low-binding tubes to avoid repeated freeze–thaw cycles. Use sterile, nuclease- and protease-free reagents and consumables. Low-protein-binding tubes reduce loss of peptide to plastic surfaces. When reconstitution is required, use sterile water or the buffer recommended by the manufacturer. If no guidance is provided, a neutral, low-ionic-strength buffer is a common starting point for cell culture compatibility. Record lot numbers, reconstitution date, storage conditions, and any visible particulates. These metadata often explain batch-to-batch variability.
For routine lab supply needs, many groups keep bacteriostatic water on hand for reagent preparation and sterile dilution steps.

Analytical QC: what to check before you run biological assays Even for labelled research-grade reagents, run a small panel of QC checks on a new lot before committing to large experiments. Minimal recommended checks:
Mass spectrometry: Confirm molecular mass matches theoretical sequence mass; minor truncations or adducts are sometimes present. HPLC purity: Determine percent purity. Impurities can co-elute and affect assays. Endotoxin: LAL or equivalent assay; inflammatory readouts are particularly sensitive to contamination. Solubility and aggregation: Visual inspection after reconstitution and dynamic light scattering for formulations suspected to aggregate.
QC data belong in the methods section of any internal report, and should accompany any dataset you publish or share with collaborators.
Design, replication, and statistics for peptide experiments Careful experimental design prevents easy-to-make mistakes that wreck reproducibility. A few guiding numbers and practices:
Biological replicates: aim for at least three independent biological replicates (separate cell passages, different donors for primary cells) for basic mechanistic work. Technical replicates: run technical triplicates within an experiment to capture assay noise. Time points: include early and late time points (for example 24 and 72 hours) to capture both signalling changes and phenotypic outcomes. Controls: always include vehicle, positive control, and if possible a negative peptide control (scrambled sequence) to detect sequence-specific effects.
Example in vitro scratch assay protocol (framework, not dosing) This is a procedural outline used by many labs to measure effects on fibroblast migration. Do not interpret it as dosing guidance.
Seed primary human dermal fibroblasts into multiwell plates and grow to near-confluence under standard culture conditions. Using a sterile pipette tip, create a straight scratch across the monolayer; wash gently to remove detached cells. Apply treatment groups: vehicle, GLOW Blend, and a positive control known to affect migration. Keep volumes and excipients matched. Image the same fields immediately (0 hr) and at predetermined intervals (for example 24 and 48 hr). Maintain consistent imaging parameters. Quantify wound area using image analysis software, normalise to the 0 hr baseline, and report percent closure. Run at least three biological replicates.
Include a viability assay in parallel wells to confirm that differences in closure are not driven by cytotoxicity. When you see an effect, follow up with matrix readouts and MMP/TIMP profiling to build mechanistic context.
Interpreting results and common pitfalls When the data look promising, pause and interrogate alternative explanations. Common pitfalls include:
Vehicle effects: Excipients can change membrane permeability or signalling. A vehicle-only control is essential. Endotoxin-driven artefacts: Low-level LPS contamination can upregulate MMPs and cytokines, mimicking peptide-driven inflammation. Peptide degradation: Proteolysis in serum-containing media can produce fragments with different activities. Consider serum-free windows or protease inhibitors when mechanistically appropriate. Batch variability: Differences in purity, counter-ions, or trace stabilisers between lots can cause inconsistent results. QC each lot.
A measured follow-up strategy: replicate the core finding across a second cell type or donor set, confirm with orthogonal endpoints, then proceed to higher-complexity models.
Ethical, regulatory, and reporting considerations Work with peptide reagents must comply with institutional biosafety policies. If you use primary human tissue, obtain appropriate IRB approval or use commercially sourced, de-identified tissue supplied with donor consent documentation. Keep careful records for chain-of-custody and waste disposal. When reporting results, include full reagent metadata: product name, vendor, lot number, reconstitution solvent, storage conditions, and any QC data obtained. Transparent methods enable colleagues to judge reproducibility and help you troubleshoot unexpected results.
Back in that rainy lab, the postdoc ran the migration panel twice, added a zymography gel, and sent one aliquot of the lot for LC–MS. The second run reproduced the initial trend. The LC–MS showed a single dominant peak at the expected mass. She logged the lot number, wrote the vehicle recipe into the lab book, and scheduled an ex vivo explant follow-up. Small, deliberate steps. That’s how you move from a promising vial to reliable data.